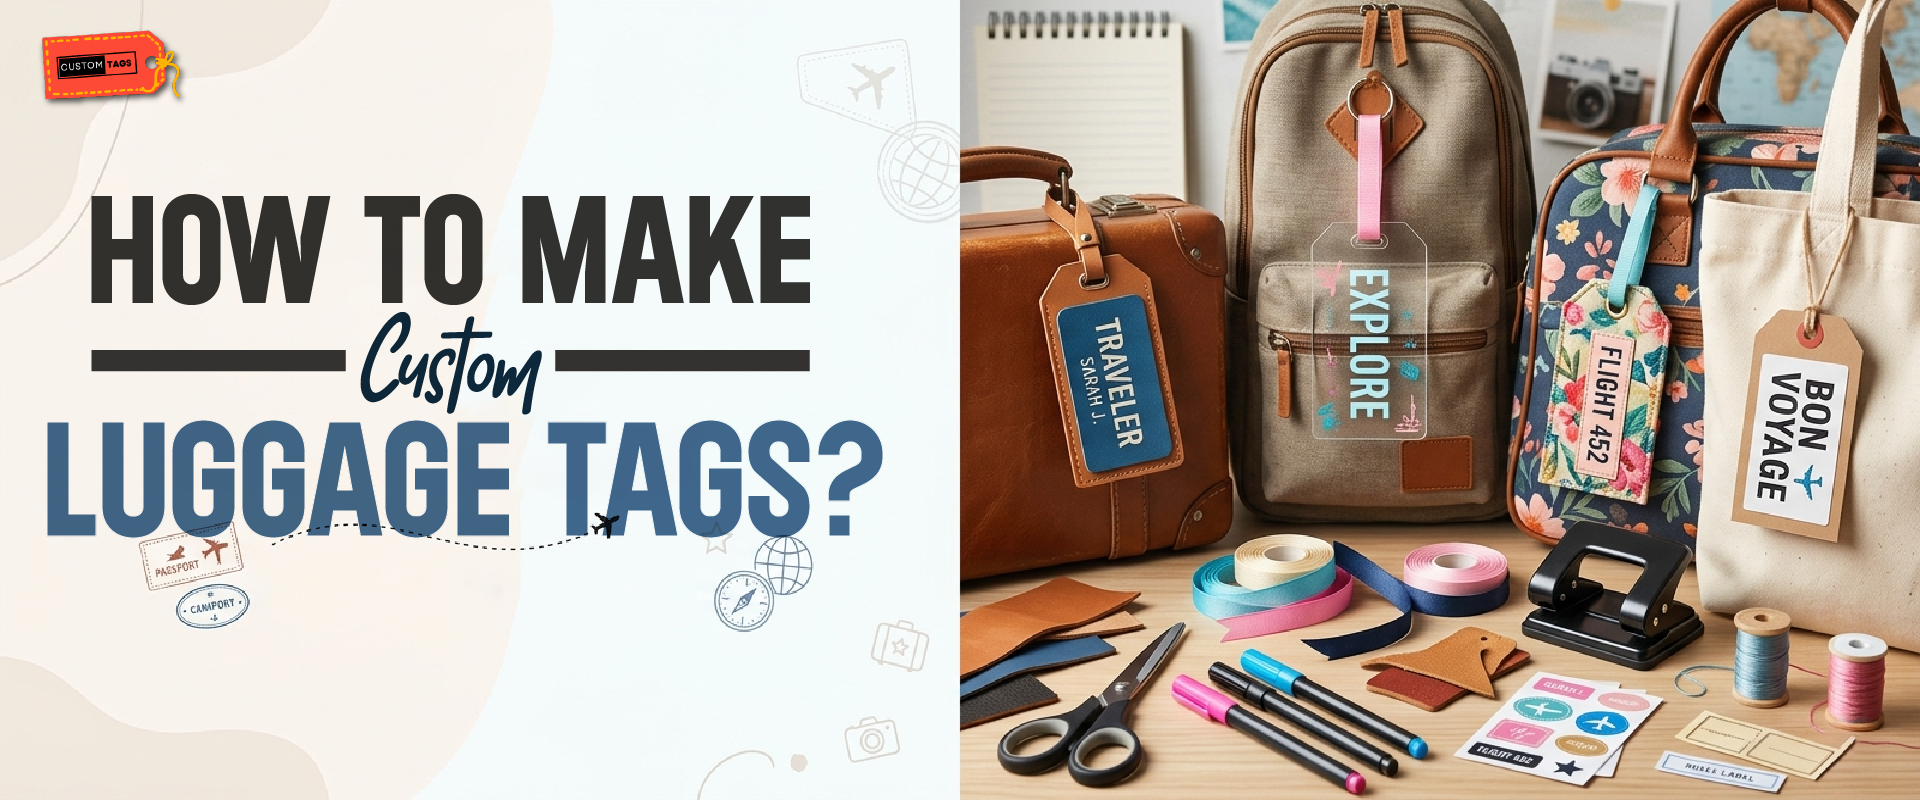
Creating custom luggage tags can enhance your travel experience by making it easier to identify your bags. The process can be simple, using options like printable designs or machine-cut versions. I share a DIY method using a Stitch People pattern. Travelers can create unique tags using this method that combine style and functionality. We list down the required materials, which include fabric, window material, embroidery tools, and add-ons. This article is written to guide beginners who don’t require advanced skills. These personalized tags will provide a distinctive touch for travelers to easily identify at busy airports.
Popular DIY Luggage Tag Ideas
- Secure Information: You need to protect your private details with foldable designs and rear pockets.
- Sealing: Use clear laminate to seal paper tags to make them waterproof.
- Secure Attachment: Always choose only durable materials for straps to ensure the tag stays attached.
- Sewing Vinyl: Use a nonstick foot or put tape on the bottom of your regular foot.
Materials
We have a list of materials that are used during the construction of DIY luggage tags.
Base Material
- Vinyl
- Faux leather
- Heavy cardstock
- PVC blanks.
Window Material
- Clear vinyl
- Rigid plastic sheet.
Attachment
- Ribbon
- Leather strap
- Luggage buckle.
- Snap buttons
- Rivets
Equipment
Let’s see the required equipment to make a beautiful
- Glue
- Mod Podge
- HeatnBond
- Scissors
- Sewing machine
The Key to A Good Luggage Tag
People commonly use luggage tags to make their bags identical in a rush. So, you need tags that are durable and survive rough handling. Also, catchy colors are required to spot your bag instantly on a crowded carousel. This strength comes from leather or heavy plastic, which provides a rugged and tear-resistant base for your info.
You need to add your name and phone number to that base. Also, focus on the safety of your home address from omission. Finally, attachments like steel loops lock everything together and keep the tag securely fastened to your handle throughout your journey.
Different Methods
We will discuss a few different methods for a homemade luggage tag. We will ensure you get the right information and easy steps to follow.
Method 1: Using a Cutting Machine
This is ideal for creating professional-looking and personalized faux leather tags.
- Design: Make perfect designs according to your taste using software like Cricut Design Space.
- Cut: Place the heat transfer vinyl shiny-side down on the mat and mirror your design before cutting.
- Apply: Weed the excess vinyl and use a heat press to apply the design to a faux leather blank.
Method 2: Sewing Your Own Fabric Tags
This method is used to make durable and washable tags in many different designs.
- First of all, cut the fabric and fusible interfacing into 2 pieces of stability.
- Now, use clear vinyl to make a pocket for confidential information.
- At the end, switch the pieces together and leave an opening to turn it right side out.
Method 3: Quick Printable Tags
As shown from the name, this is a fast method that you can implement in the last minute. You can make handmade luggage tags without the use of any specialized tool using this method.
- Design: Use free Canva templates to customize your information and style.
- Print: Print your design on heavy cardstock for durability.
- Protect: Add a waterproof layer using a home laminator.
How To Make Custom Luggage Tags with Cricut?
Cricut is a very common tool in tag designing at the commercial level. You primarily use the Shapes, Text, and Attach tools in Cricut to build a layout that the machine can cut or draw precisely. We explain it below in detail to resolve your problem.
- Insert a Rectangle and unlock the padlock icon in the top toolbar to set specific dimensions.
- Insert a small Circle (about 0.25″) and place it near the top
- In the top menu, change the Operation to Basic Cut if you want the machine to cut the letters out of vinyl
- Use the Align tool to center your text perfectly within the tag shape.
- Select the “Attach” tool at the bottom of the layers panel to lock your text onto the tag base.
- Toggle “Mirror” to On in the prepare screen if you are using HTV to ensure your text reads correctly after it is ironed on.
Way to Install Tags
Tag making is used to ensure you easily find your bag anywhere in a crowd. So, its placement also matters as much as designing and quality. We prepare a plan for your hang tags.
- Choose the Fixed Handle: Choose a strong and non-moving handle on the top or side of your bag.
- Thread the Connector: Pass your strap through the hole at the top of the tag.
- Loop the Bag Handle: Wrap the strap around the handle of your suitcase.
- Double Check Info: Read your information twice before leaving the package.
- Perform a Pull Test: It is best to give a tug on the tag to ensure it is perfectly attached.
Conclusion
We started a discussion about luggage tags. Now we are closing. You need to think about the look and the materials they are made from. We recommend that you use the red color because it pops up and helps you to spot easily. Durable tags made from leather and cardboard are far more reliable than standard airline tags.
We offer a strong custom tags in premium materials to make sure your luggage looks prominent everywhere. Bag-selling companies can also order custom tags to print their logo. This small investment will become a good marketing tactic for them.